Let's play with SQL Server on macOS

I am preparing 70-761 exam... and currently, I am using the Macbook Pro as a daily driver so I needed to get MS SQL Server somehow on my Mac machine in order to test and play with AdventureWorks database without the need to switch to my Windows powered laptop.
In this short blog post, I will walk you through the steps in order to use MS SQL Server on your macOS machine. It is not that hard at all, to be honest, just a few steps and you will be ready to go.
The first step is to...
Install Docker for Mac.
If you already have docker installed on your Mac, then obviously you can skip this step, if you don't have it already, then go and download it from this website here.

Pull the latest version of SQL Server image (in my case that was 2019).
When you are sure your Docker desktop is running run the following command in the Terminal.
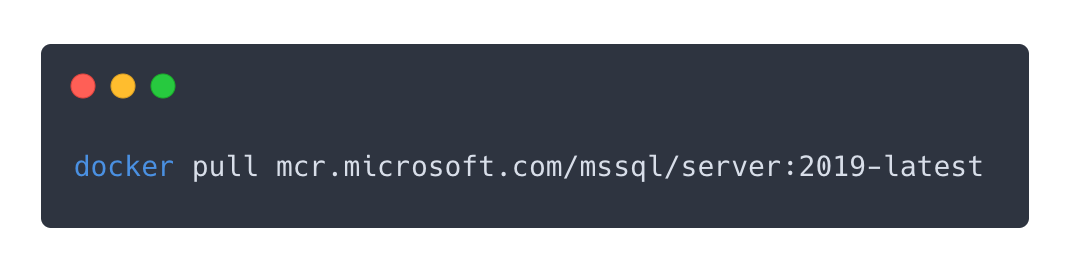
or you can copy and paste it from here:
docker pull mcr.microsoft.com/mssql/server:2019-latest
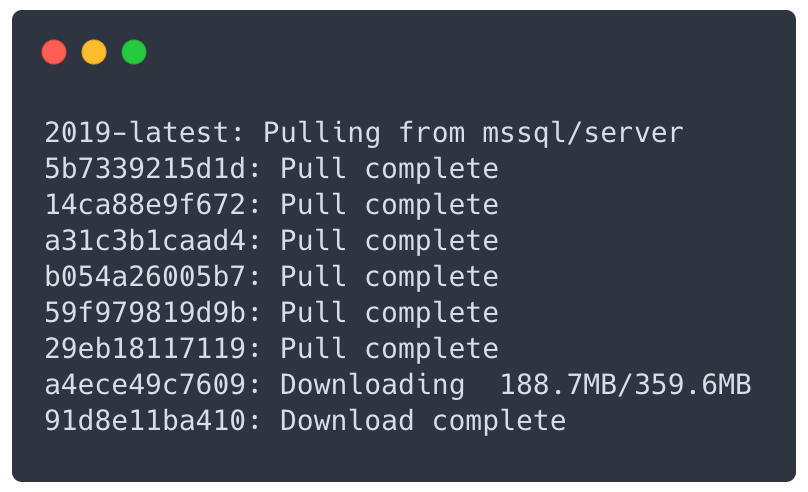
The installation will take some time, depending on your internet speed, at the moment of writing this blog post I was at my parents home so (pull process) it took some time.
Once when the container image is pulled and download is completed, you can run it on a new container using the following command:

I will use additional command --name. Which will assign a name to the container, in my case that will be mssqlserver2019.
docker run -e 'ACCEPT_EULA=Y' -e 'SA_PASSWORD=yourStrong(!)Password' -p 1433:1433 --name mssqlserver2019 -d mcr.microsoft.com/mssql/server:2019-latest
More about commands, parameters and this image you can find here.
Run the following docker command to check the status of your container.
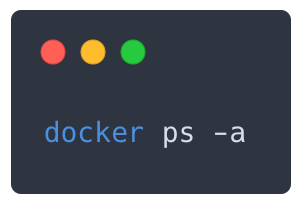
You should get the status "Up (X) seconds..." if STATUS is not "Up" try to troubleshoot and see why it is not working properly. Quick tip, please use strong password you will have some issues while connecting later.
If the status is Up, you are ready to go.
Install client.
After you successfully configured and launched the docker container you need some kind of tool or client to connect to local sql server. In this blog post I will cover two options:
- Visual Studio Code with mssql extension
- Azure Data Studio - Which I recommend to use...
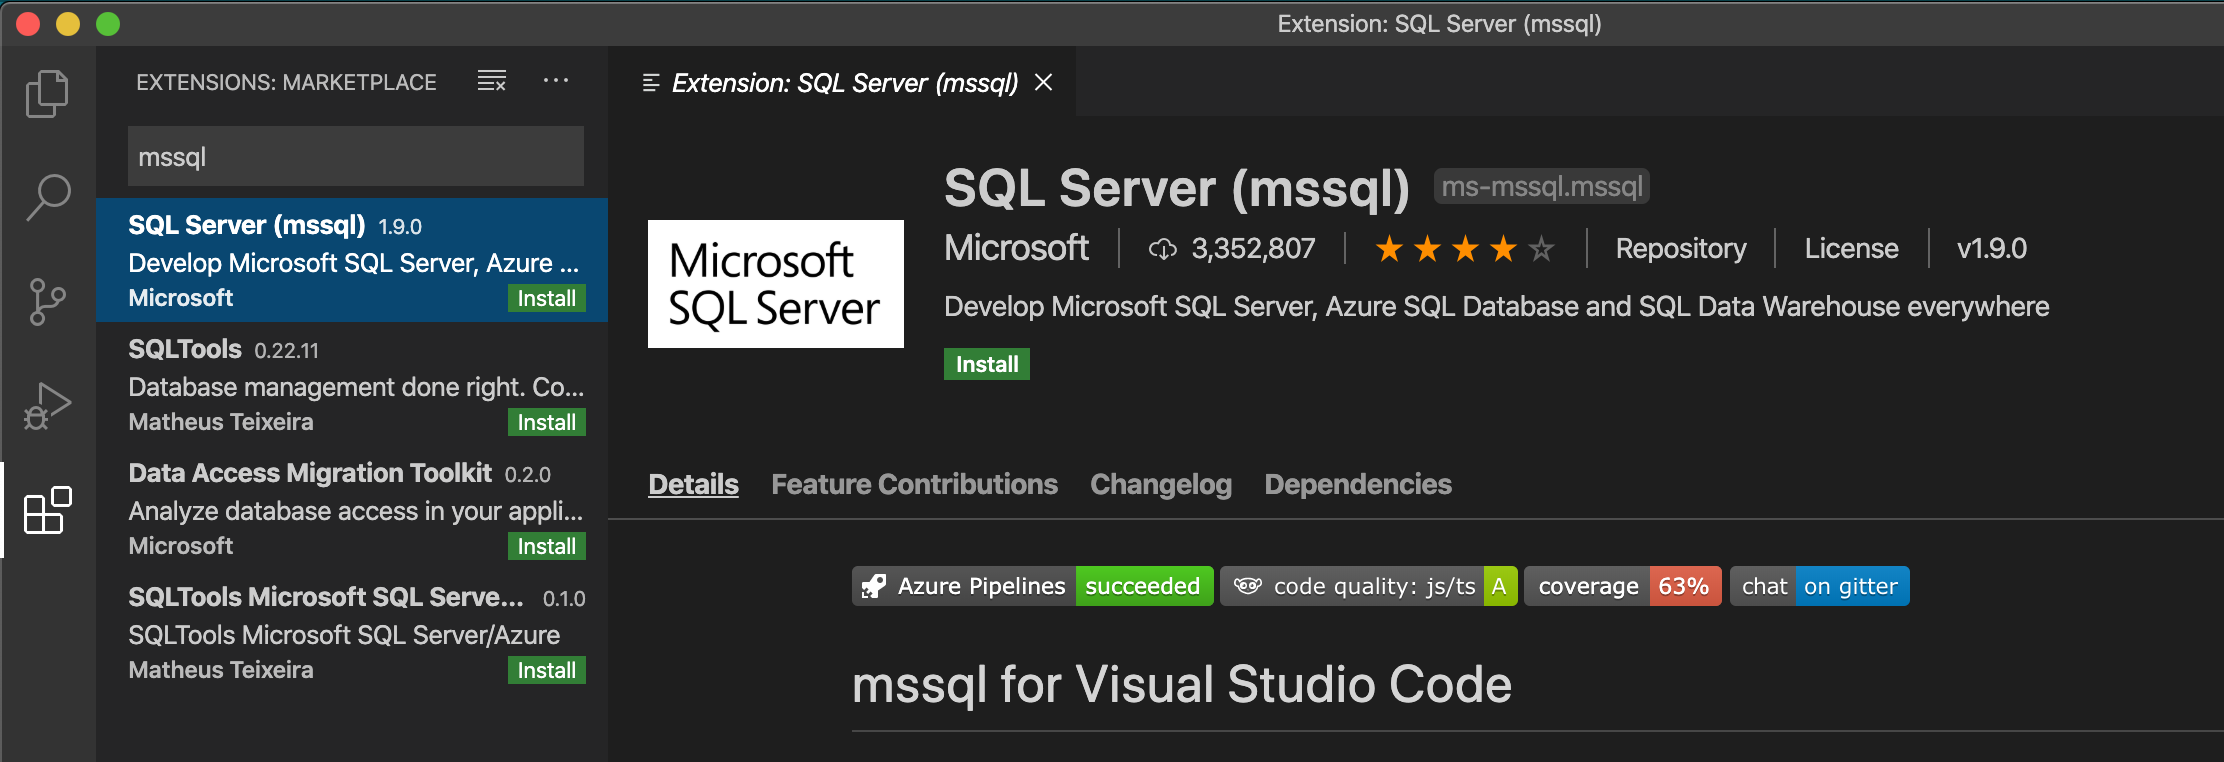
(Option 1.) Install Visual Studio Code extension.
(For the option 1) client on macOS, I will use Visual Studio Code with the following extension which you can find here.
After you install the extension you need to create a new connection to connect to the local SQL Server with following steps.
Navigate to Connections part and click on Add Connection.
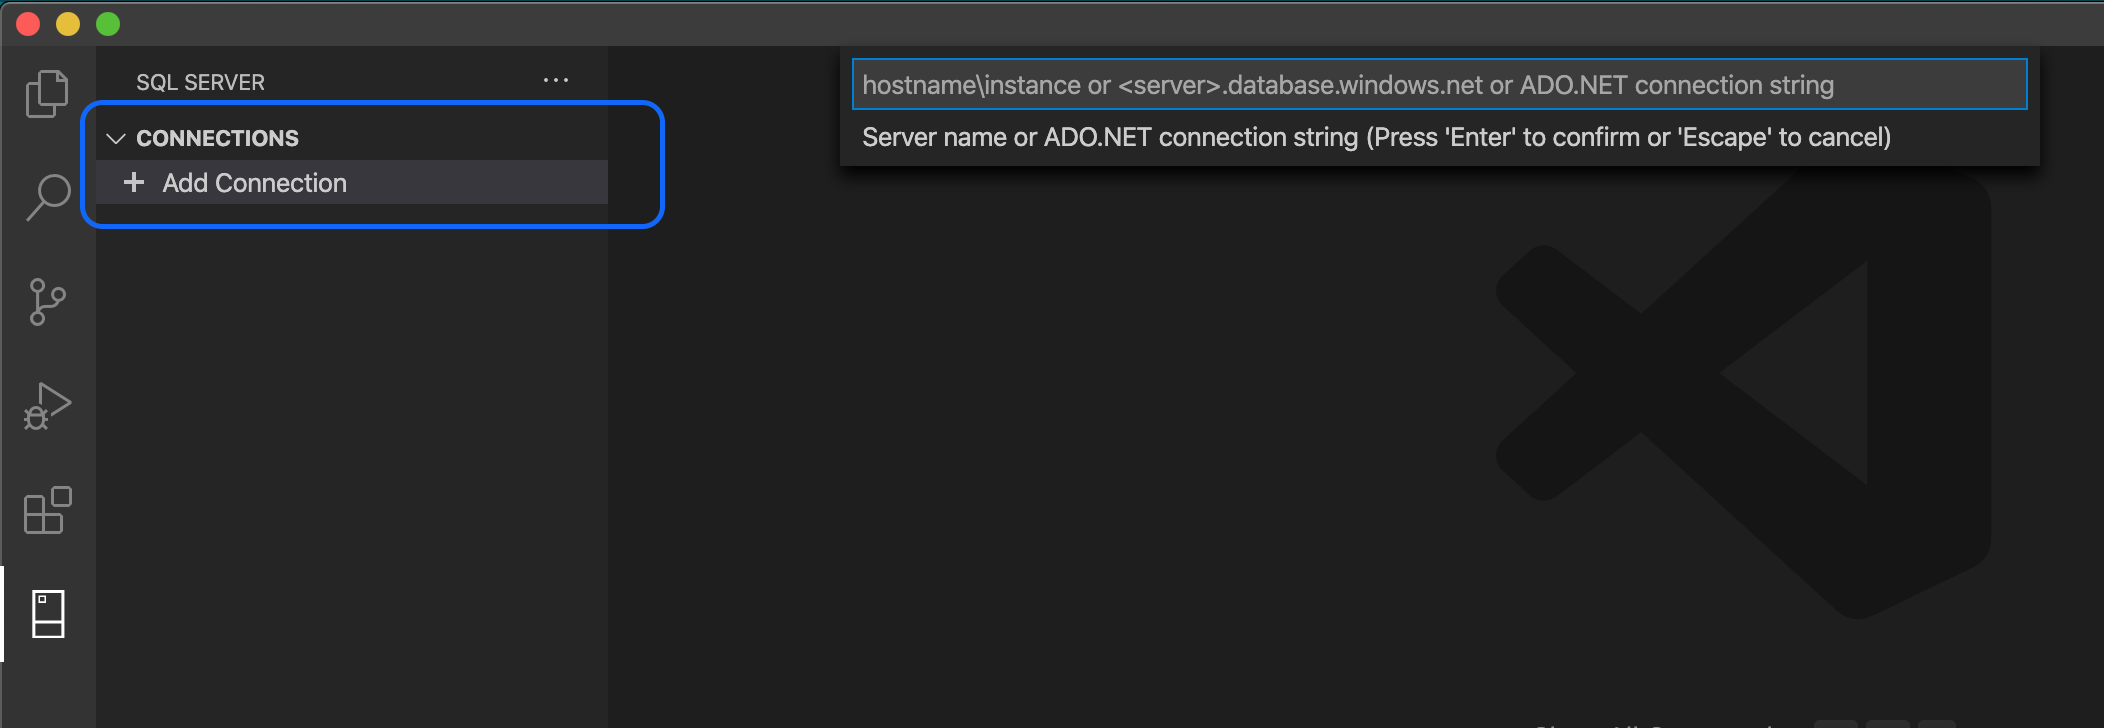
You will get several prompts in order to connect successfully to your container, use the following information:
- "localhost" as hostname
- "sa" as user
- password you set up when running the docker command to launch SQL Server image.
- Name your connection if you want to use it later
After a connection is created you should see similar info in the VS Code.
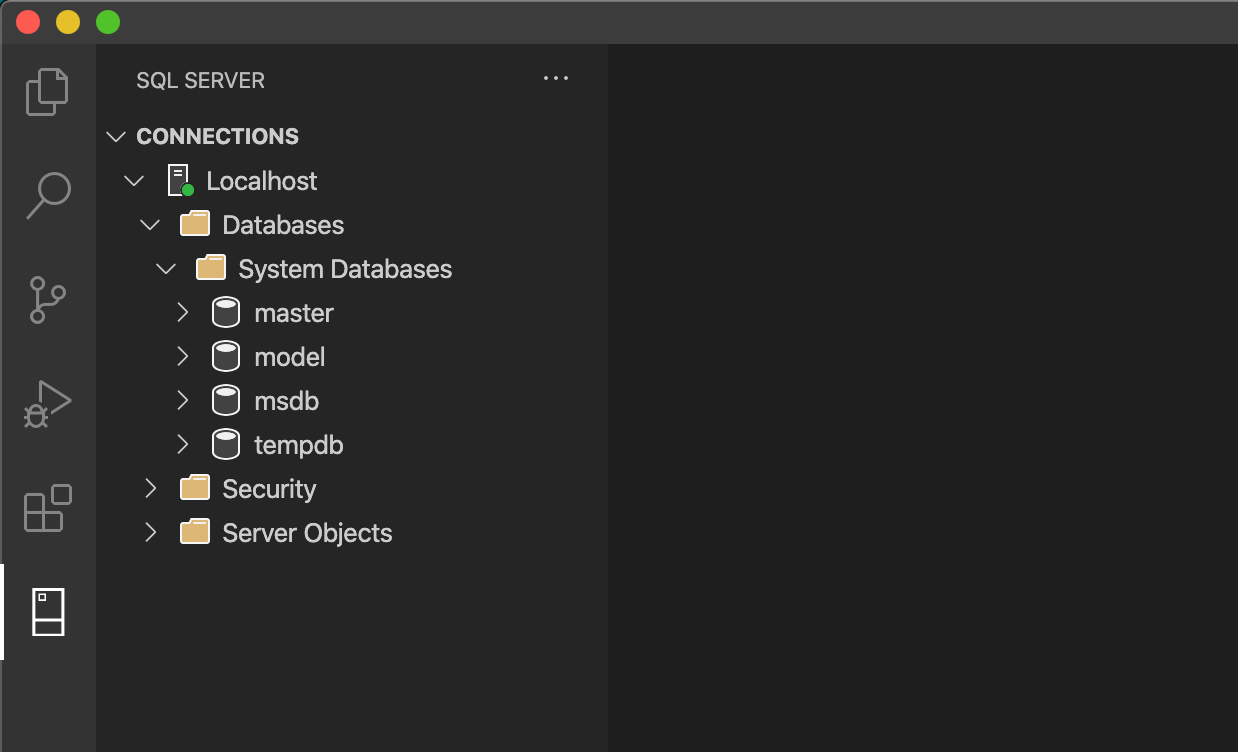
You can right-click on your connection and start with a new query and start playing with SQL Server on macOS.
If this is something you don't want to configure and find it a poor experience than take a look at option 2.
(Option 2.) Download and install Azure Data Studio.
There is also a great tool called Azure Data Studio, which is based on Visual Studio Code it is similar to an extension which we used in the last step.
You can download it from here, run the downloaded zip and you will get this startup screen.
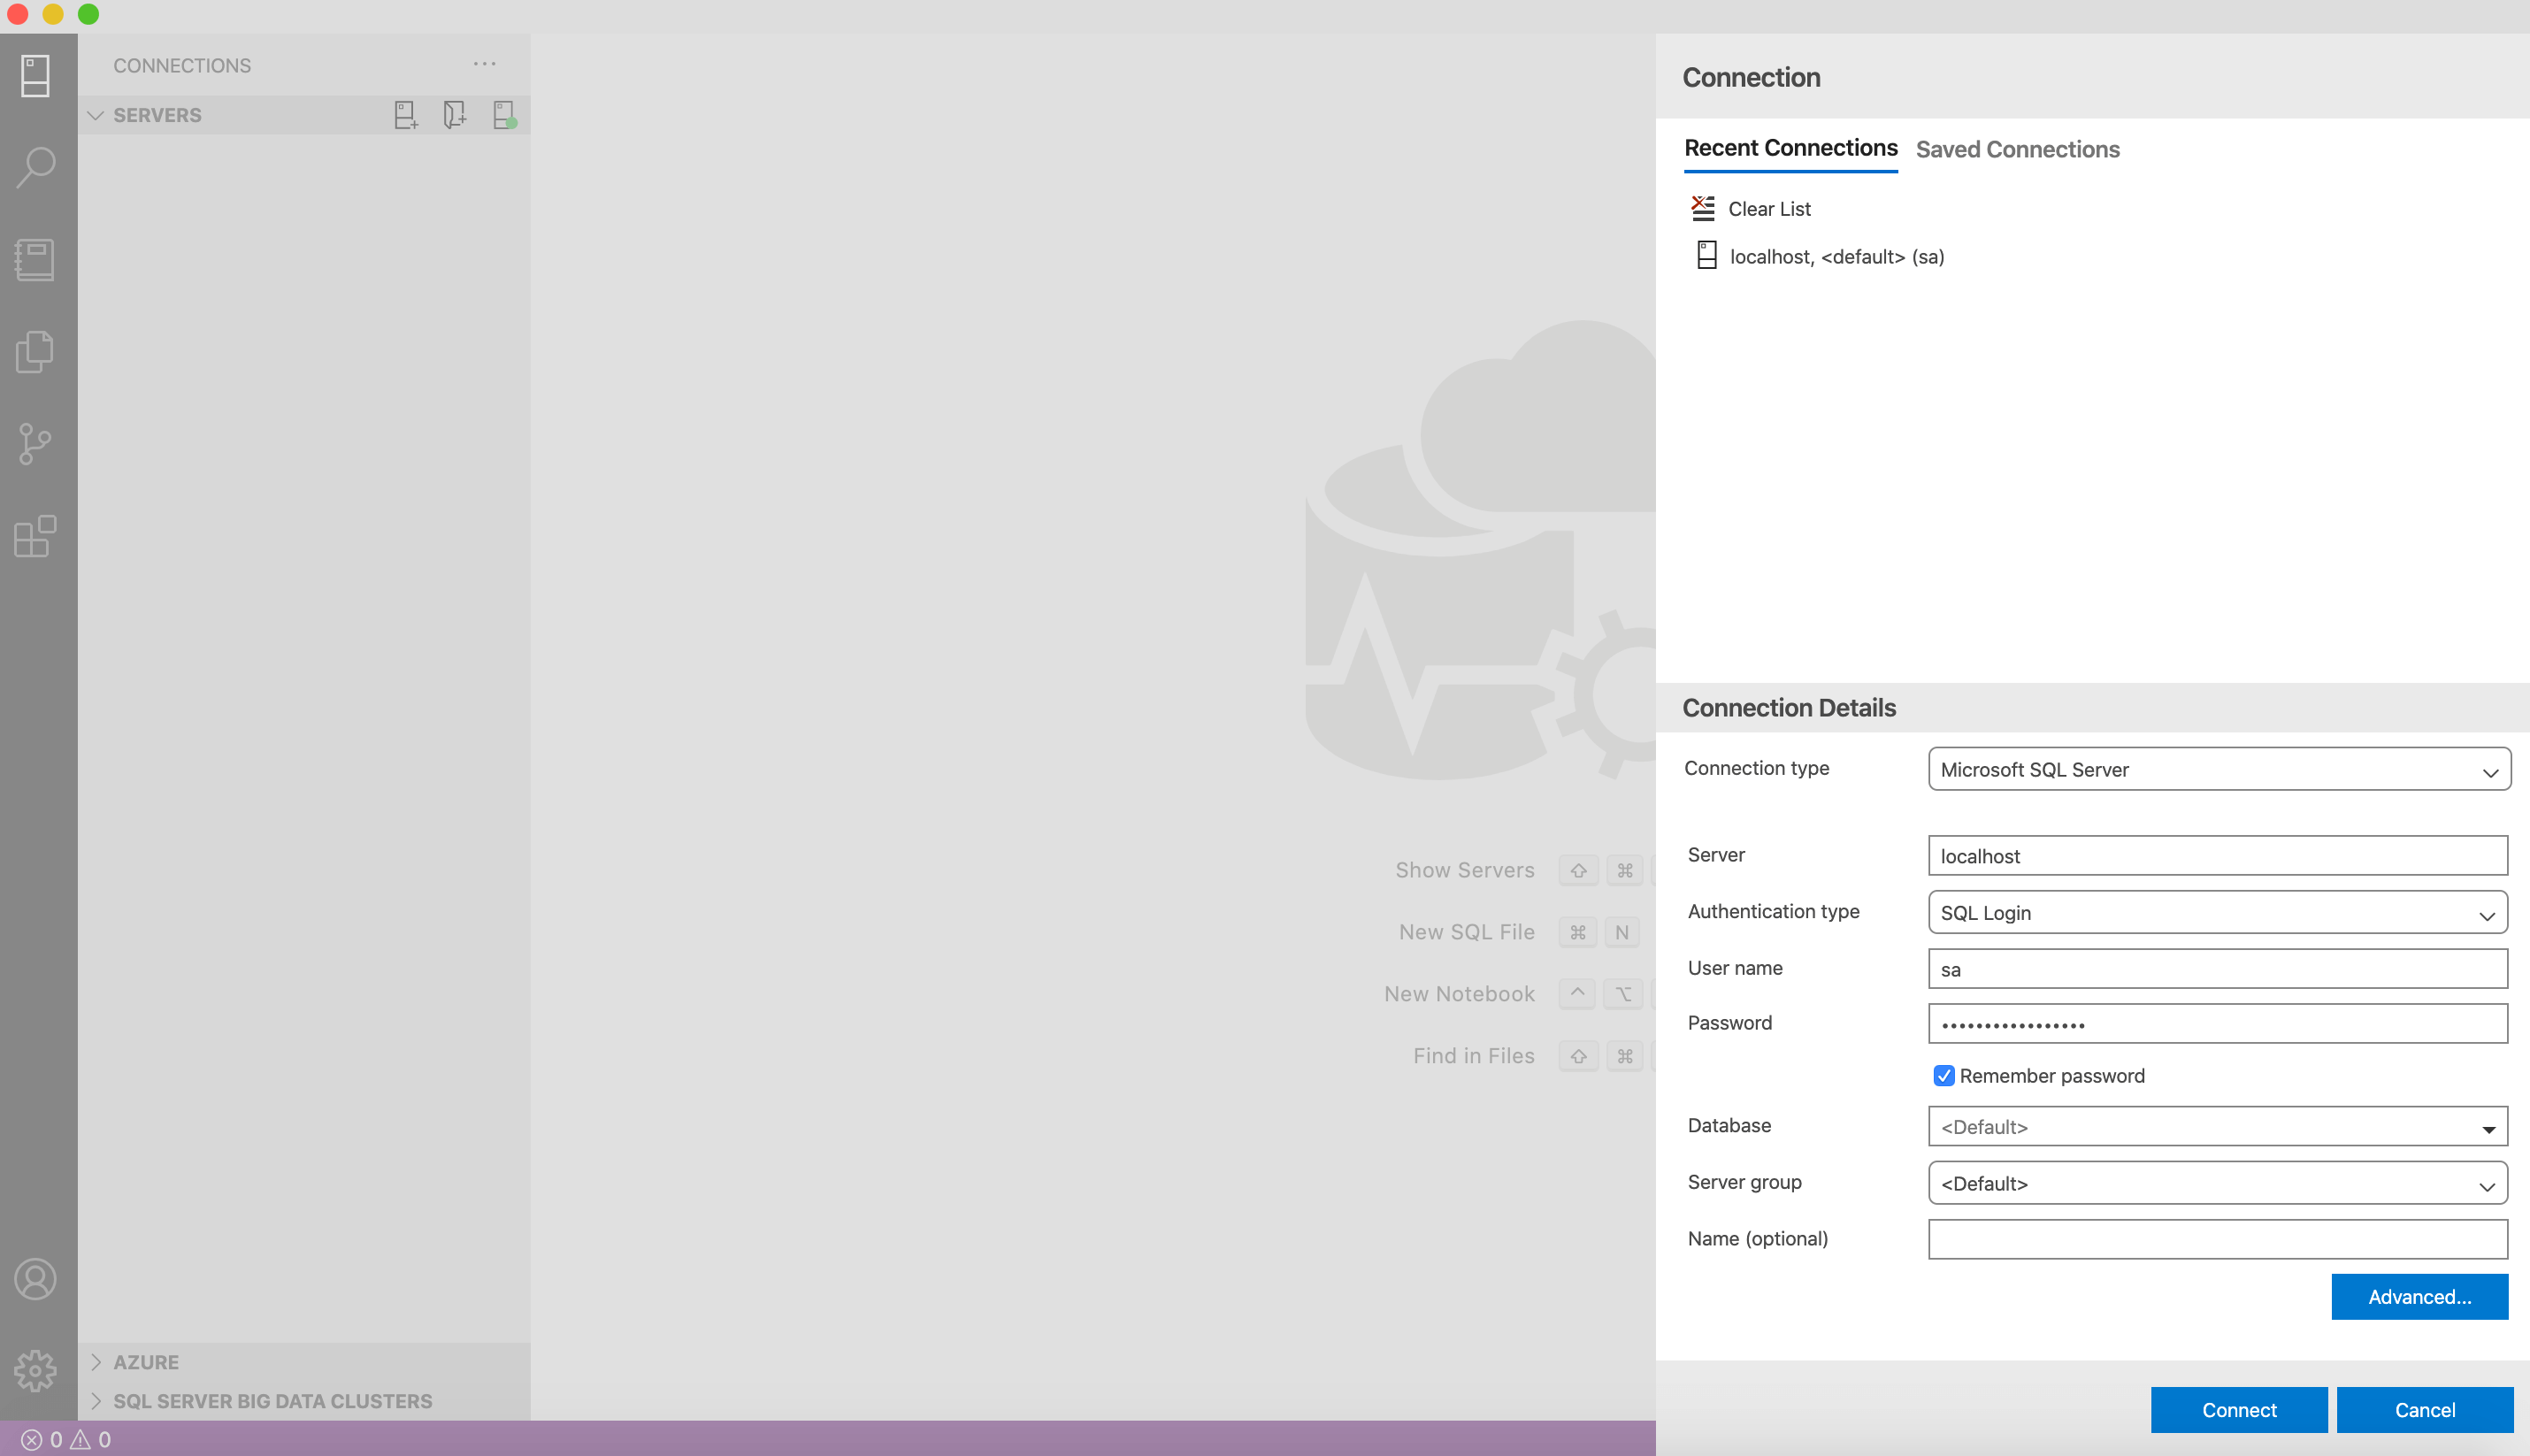
Fill the following Connection Details form and select Connect after a few seconds you will have your connection under Servers panel on the left side like this.
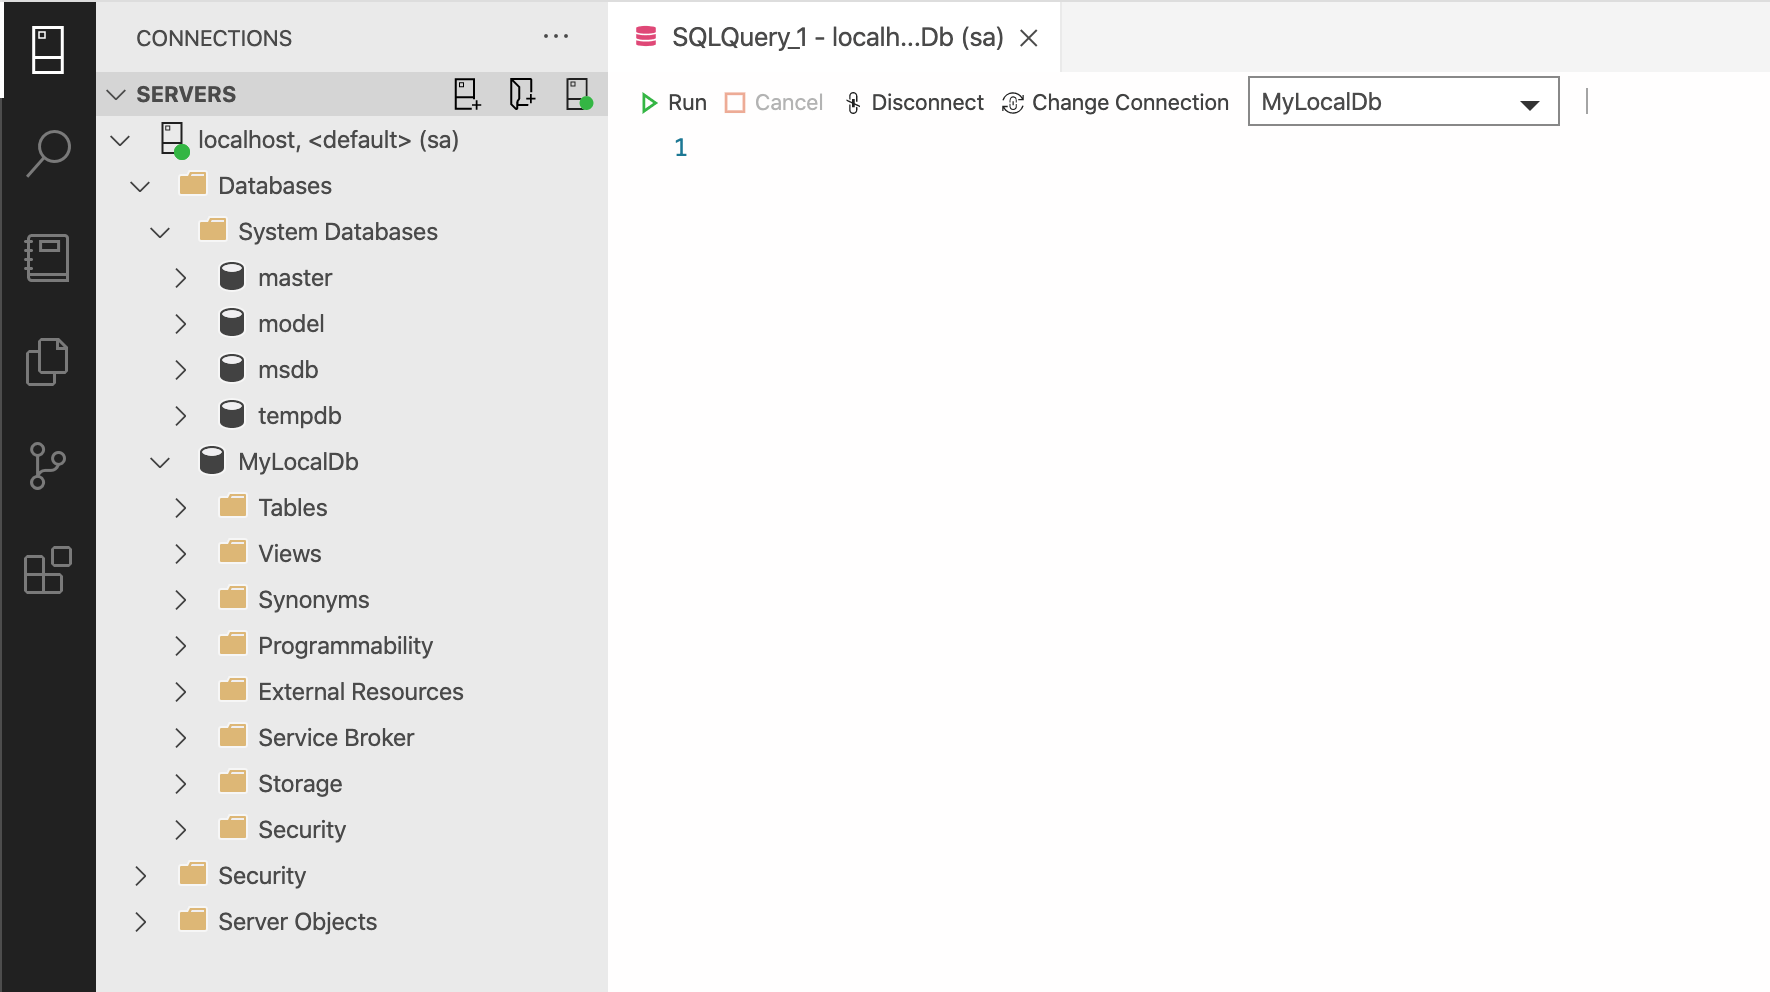
After this you are ready to go, you have SQL Server running inside of docker container on your macOS, you also have a nice client to connect to it and start writing the queries and playing with your db(s).
Hope this was helpful for you, if it was, please share it with your friend and colleagues.
Wish you lots of luck with coding! 👌