How to Add Custom App Actions In Xamarin.Forms app
If you are not aware of Xamarin.Essentials you should definitely be because it is a great addition to Xamarin.Forms development toolkit. In this tutorial we will use it to implement custom app actions in our Xamarin.Forms app.
To use App Actions in our app we need to use Xamarin.Essentials 1.6 or higher. At the moment of writing this blog post, I am using: 1.6.0 -pre2.
If you also have the same or higher version than we are ready to start.
Setup.
The first step is to navigate to our Android and iOS projects inside of solution and add these small snippets of code, which is mandatory for us in order to have properly working actions.
- Android, MainActivity.cs:
- iOS, AppDelegate.cs:
After that, we can move to our core UI project of Xamarin.Forms app and App.xaml.cs class. Here we need to "register" the app actions which we want to add. To register or add them we need to use SetAsync method like this:
Xamarin.Essentials.AppActions.SetAsync(...)
For me, the best place to do this is OnStart method in App.xaml.cs class. In this example I will add two actions like this:
For this project, I am using a modified version of the Master-Detail template so two actions which make sense to use are "Add new note" and "Favourite" notes.
The main part of adding this usage is SetAsync method, in which we can pass the following properties:
- Id: A unique identifier used to respond to the action tap.
- Title: the visible title to display.
- Subtitle: If supported a sub-title to display under the title.
- Icon: Must match icons in the corresponding resources directory on each platform.
(from MS Docs: https://docs.microsoft.com/en-us/xamarin/essentials/app-actions)
For Id values of my app actions, I am using the constant values from my Helper class ActionType.cs which contains two const string values. This is a more secure way for this setup.
If App Actions as a feature is not supported on the specific version of the platform your app is running on, the FeatureNotSupportedException will be thrown, so please find a way to handle it properly. In my demo example, I am only using empty try-catch block.
Handle the action selection.
Next step on our list is to find a way to handle the event of opening the app with some particular action.
First of all, we need to subscribe to an OnAppAction event. When some app action is chosen the event will pass the information to us, and the app will be aware which action from the list is selected.
You can register for an event in ctor of your App.xaml.cs like this:
The AppActions_OnAppAction method contains three main parts
- Code part handling multiple instances which I highly recommend you to use, I found this on docs and sample on Github
- Code part with a switch statement to get Id of app action
- Code part for navigation based on selected app action
... the full method looks like this:
The last thing we can do is to test our code and see if it works properly.
Be aware! The AppActions_OnAppAction will be triggered at the same time or side by side as opening your app, so you should definitely find some way of handling those side by side events, resetting navigation stack or whatever. Not handling this properly could be an issue with the race of events. So be aware!
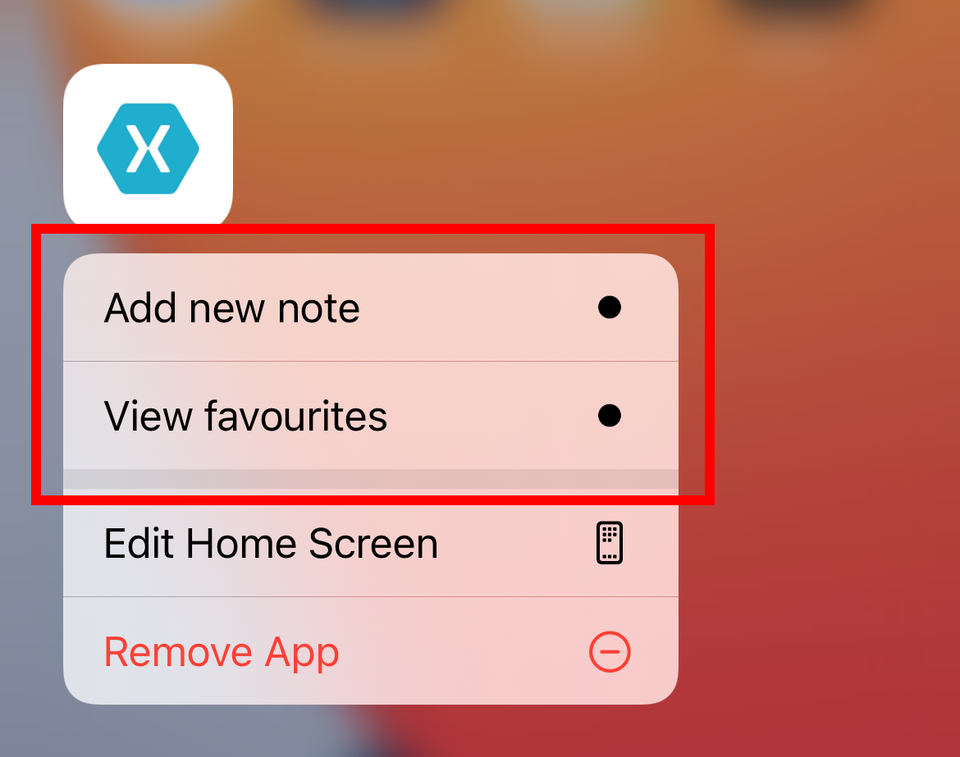
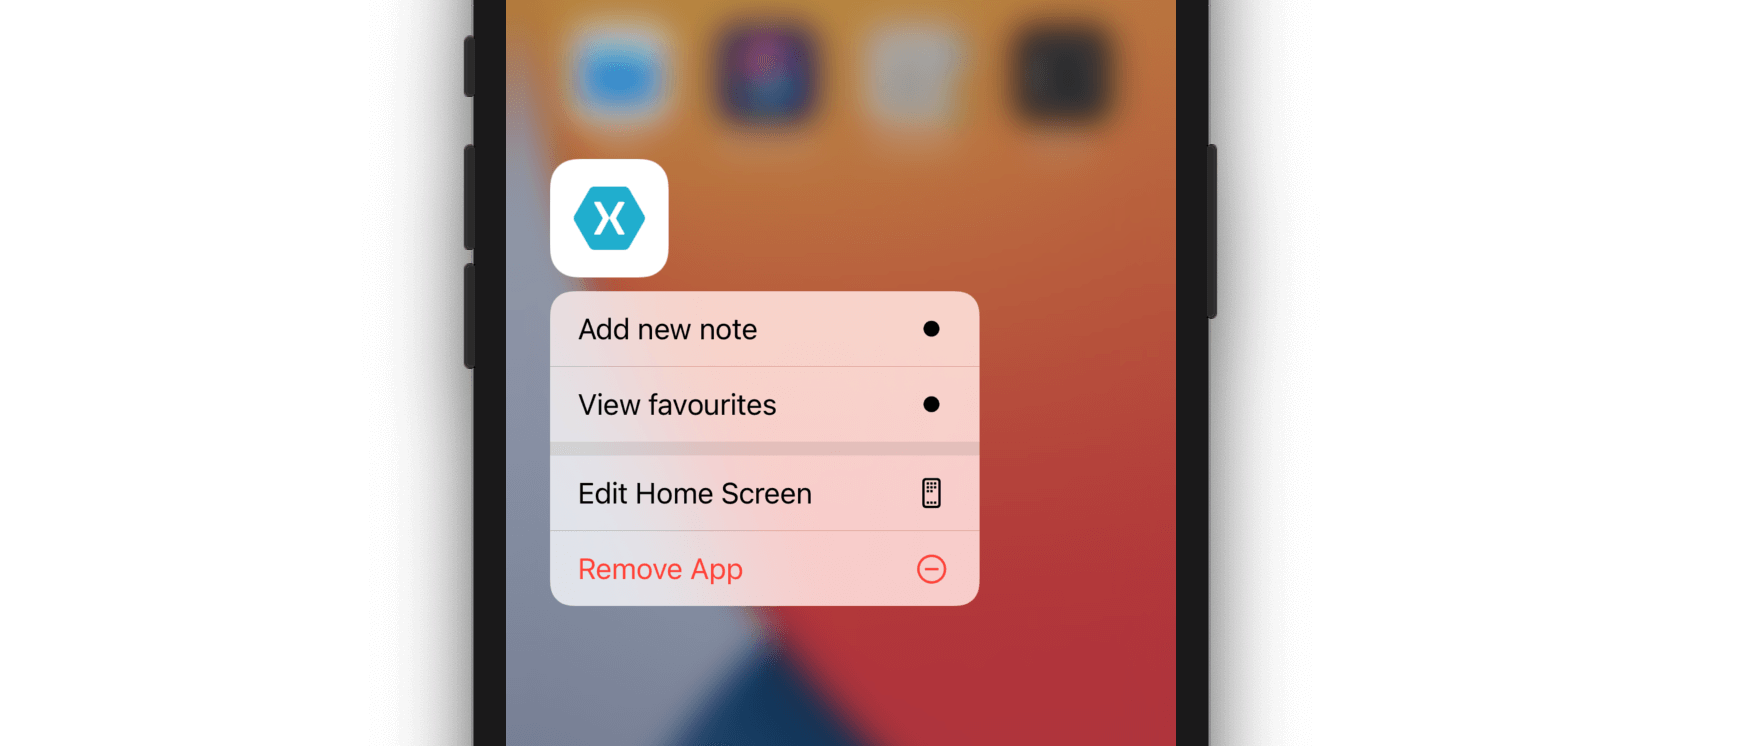
If we run our app and long press on the icon we should get our app actions visible for the user to interact.
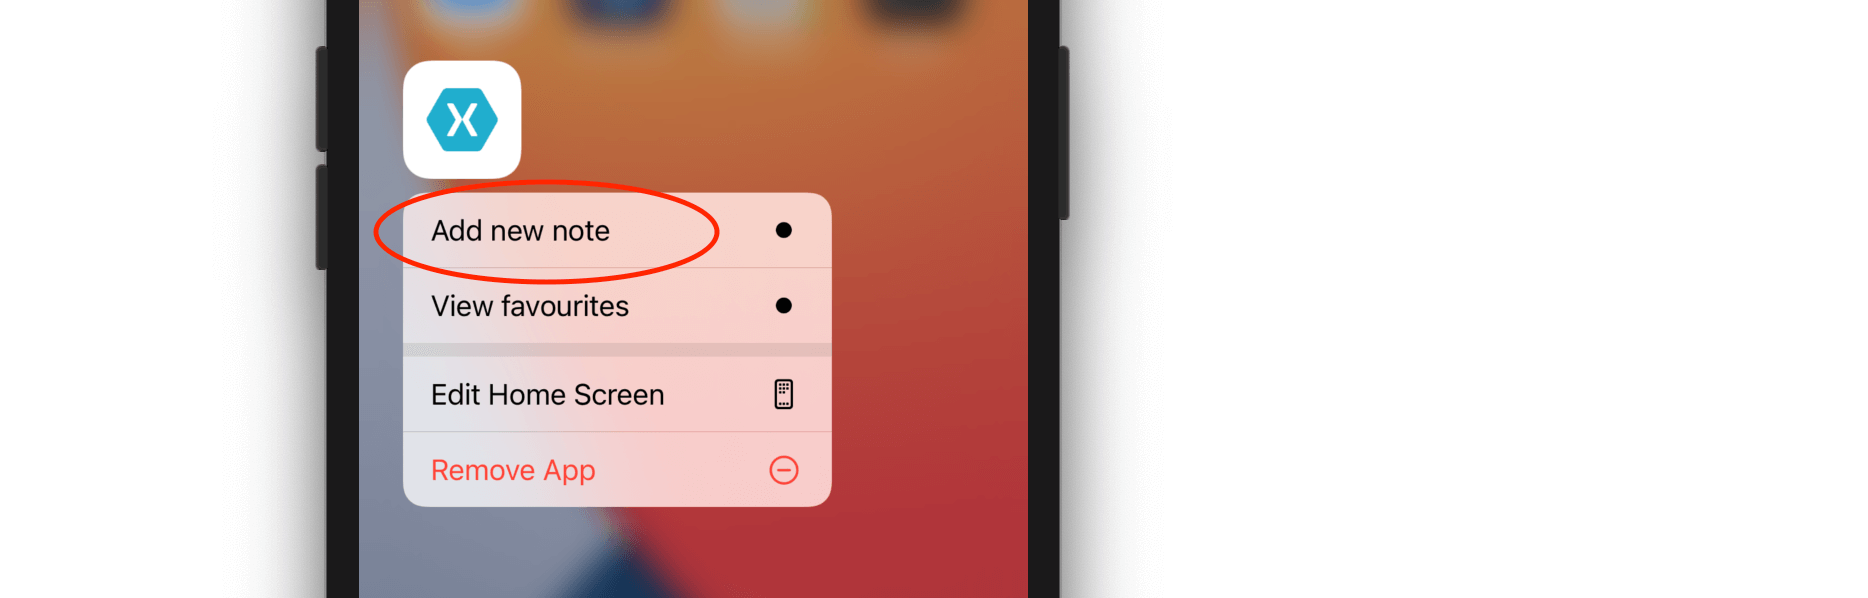
As you can see the actions are visible, and clicking on the first one "Add new note", the app is opening our new note page, like this:

So we have successfully added the custom app action(s) and we are handling the click event on it. This is such a nice feature to implement and very easy with Xamarin.Essentials.
If you want to do runtime-check of the app actions which you defined, that can be easily done any time in the code by calling AppActions.GetAsync().
Repository with demo project and the whole solution is available on my GitHub profile here.
Hope this was helpful for you, if it was, please share it with your friend and colleagues.
Wish you lots of luck with coding! 👌